Motion-sensor lights do two useful jobs. They cut wasted lighting hours, and they make moving around at night safer while creating the impression of an occupied, alert home. Here is a practical, room-by-room plan you can fit in over a weekend.
Best spots in a typical home
Passages and landings
High-traffic, often left on. Fit a ceiling PIR with a 30–90 second timeout so it only runs when someone is passing through.
Staircases
A ceiling PIR or low-level step lights minimise trips and remove the habit of switching the big light on and forgetting it later.
Guest loo and bathrooms
Sensor bulbs or PIR-controlled downlighters work well. Set a short timeout to prevent lights from running between visits.
Entrance and internal lobby
Pair a dusk sensor with a PIR so lights only arm after dark. The instant-on when you unlock the door is both convenient and a subtle deterrent.
Kitchen, scullery and pantry
Rechargeable, magnetic under-cabinet bars give task light on demand without running the whole circuit. Ideal for quick tea runs after lights-out.
Garage and interleading door
A sensor bulkhead with a 2–5 minute timeout gives hands-free light when you park or bring things in. No more lights left burning for hours.
Children’s rooms approach
Plug-in motion night lights guide you in at low brightness so you can check in without flooding the room.
Storeroom, linen cupboard and wardrobes
Door-triggered or motion LED strips stop small spaces from becoming kWh leaks.
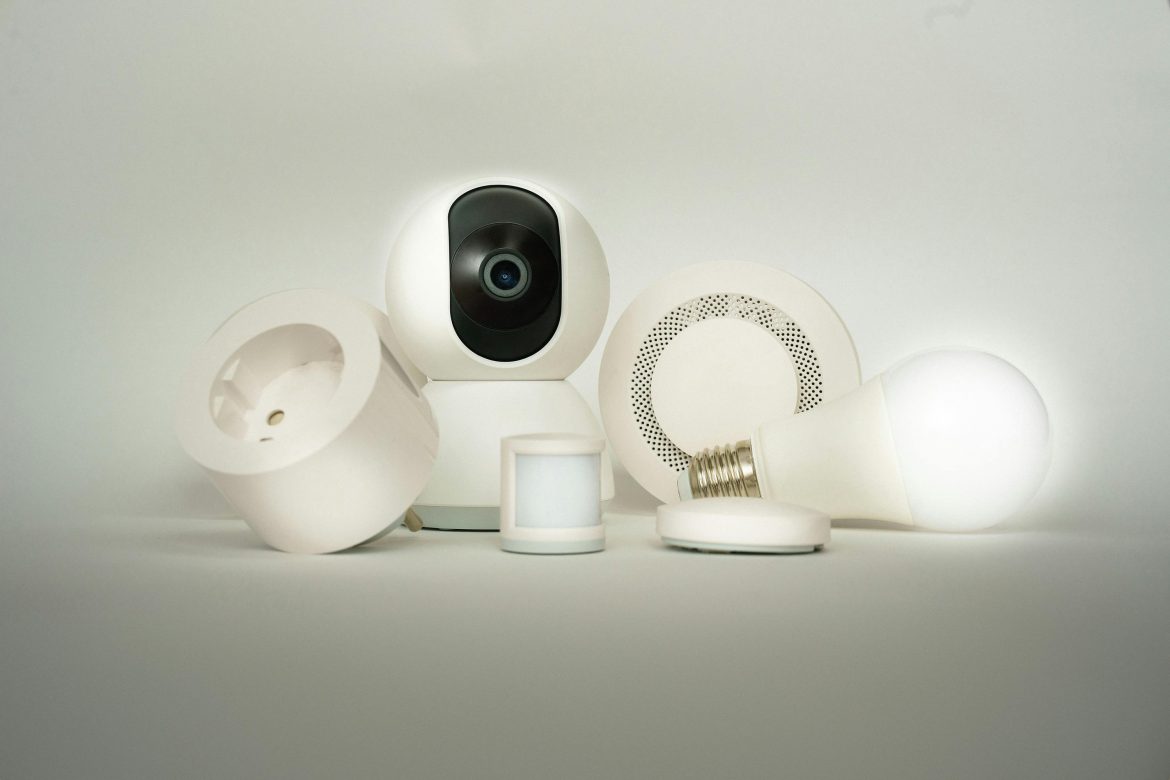
What to use (and where)
-
Sensor bulbs
Easiest retrofit. Screw into an existing lampholder, leave the wall switch on. Good for loos, passages and porches. -
Ceiling PIR + downlighters
Best for passages, stairs and garages. Choose models with adjustable timeout and lux (day/night) control. -
Dusk (day/night) sensors
For entrances and lobbies. Combine with PIR so the system only responds after dark. -
Rechargeable LED bars/strips
Magnetic, USB-charged options suit cupboards, under-counters and pantries. -
Plug-in night lights
Motion-activated, low glow for routes you walk after hours. -
Smart add-ons
If you already run smart bulbs, add an indoor motion sensor and set a low-brightness night scene.
Settings that actually save kWh
-
Timeout
Passages and loos: 45–60 seconds. Garages and entrances: 2–5 minutes. -
Lux threshold
Set to trigger only in low light so you are not burning watts in daylight. -
Sensitivity and angle
Dial down to avoid triggers from pets or adjacent doorways. -
Brightness
You rarely need 100% at night. Set smart scenes to 20–40% for safe movement and lower draw.
Security wins without extra fuss
-
Occupied feel
Movement-based lighting suggests activity inside, which helps deter opportunists. -
Safer circulation
Automatic light on stairs, landings and entrances reduces falls and avoids leaving circuits on. -
Hands-free access
Lights up as you enter with bags, kids or keys. No fumbling at the switch.
Quick placement map
-
Lounge: Keep manual control by day. Add a motion night scene at reduced brightness after a set time.
-
Bedrooms: Skip full-room motion. Use low-glow guides near the door or floor.
-
Kitchen/scullery: Under-cabinet motion bars for after-hours tasks.
-
Passage/landing: One central PIR, clear of draughts from fans or open windows.
-
Stairs: One PIR at the top or mid-landing plus optional step lights.
-
Entrance/lobby: Dusk sensor feeding a PIR so it only wakes at night.
Safety and compliance
-
DIY friendly: Sensor bulbs, plug-in night lights and rechargeable bars need no wiring.
-
Hard-wiring: Use a registered electrician for new PIRs or day/night sensors. Keep your Electrical CoC current.
Basic test and tune (ceiling PIR)
-
Power off at the board and verify.
-
Mount clear of direct sun or HVAC draughts.
-
Wire live in, switched live out, neutral as specified.
-
Start with lux to night-only and timeout to 60 seconds.
-
Restore power and walk-test. Tweak sensitivity last.
ALSO SEE:
Tile drenching: The bold interior design trend transforming homes in 2025
Featured Image: Pexels