Heavy contouring has had its moment. The sharp brown shadows, the precision blending, the multiple products required to achieve a structured face, it produced beautiful results but it also produced a generation of makeup wearers who were spending twenty minutes on a technique that read, in many lights, as precisely that: a technique you could see. Blush draping is the counter-movement, and it’s proving significantly more democratic.
The technique uses strategic blush placement to lift and sculpt the face rather than relying on bronzer and contour. The result is dimension that looks like it came from a very good night’s sleep rather than from a specific product applied in a specific place.
What blush draping actually is
The concept is not new. It was made famous in the 1970s by celebrity makeup artist Way Bandy, who used sweeping colour to reshape the face for editorial and film work. The contemporary version is softer and more everyday, but the principle is identical: instead of subtracting volume with brown shadow, you add warmth and lift with colour.
Blush draping involves applying blush significantly higher than the traditional placement at the apple of the cheek. The colour starts at the highest point of the cheekbone, just beneath the outer corner of the eye, and sweeps upward and outward toward the temple in a loose C-shape. From there, depending on the look, it can be dusted very lightly across the eyelids and the bridge of the nose for a monochromatic, sun-flushed finish.
How to do it
Start with a light foundation base: heavier coverage tends to look at odds with the airy quality of the draped blush. Apply a cream blush first if you want the most natural finish. Cream formulas blend into the skin rather than sitting on top of it, which is particularly useful for dry skin or in SA’s dry winter conditions where powder can accentuate flakiness.
Place the colour at the highest point of the cheekbone and use your fingers or a fluffy brush to sweep it up toward the temple. The key is to keep the gradient gradual so there is no visible edge where the blush begins or ends. Build slowly, because blush draping is more forgiving when underdone than overdone.
If you’re adding it to the lids and nose, use a clean, slightly damp brush and a very light touch. The lid application should look like warmth rather than eyeshadow, and the nose application should be barely there.
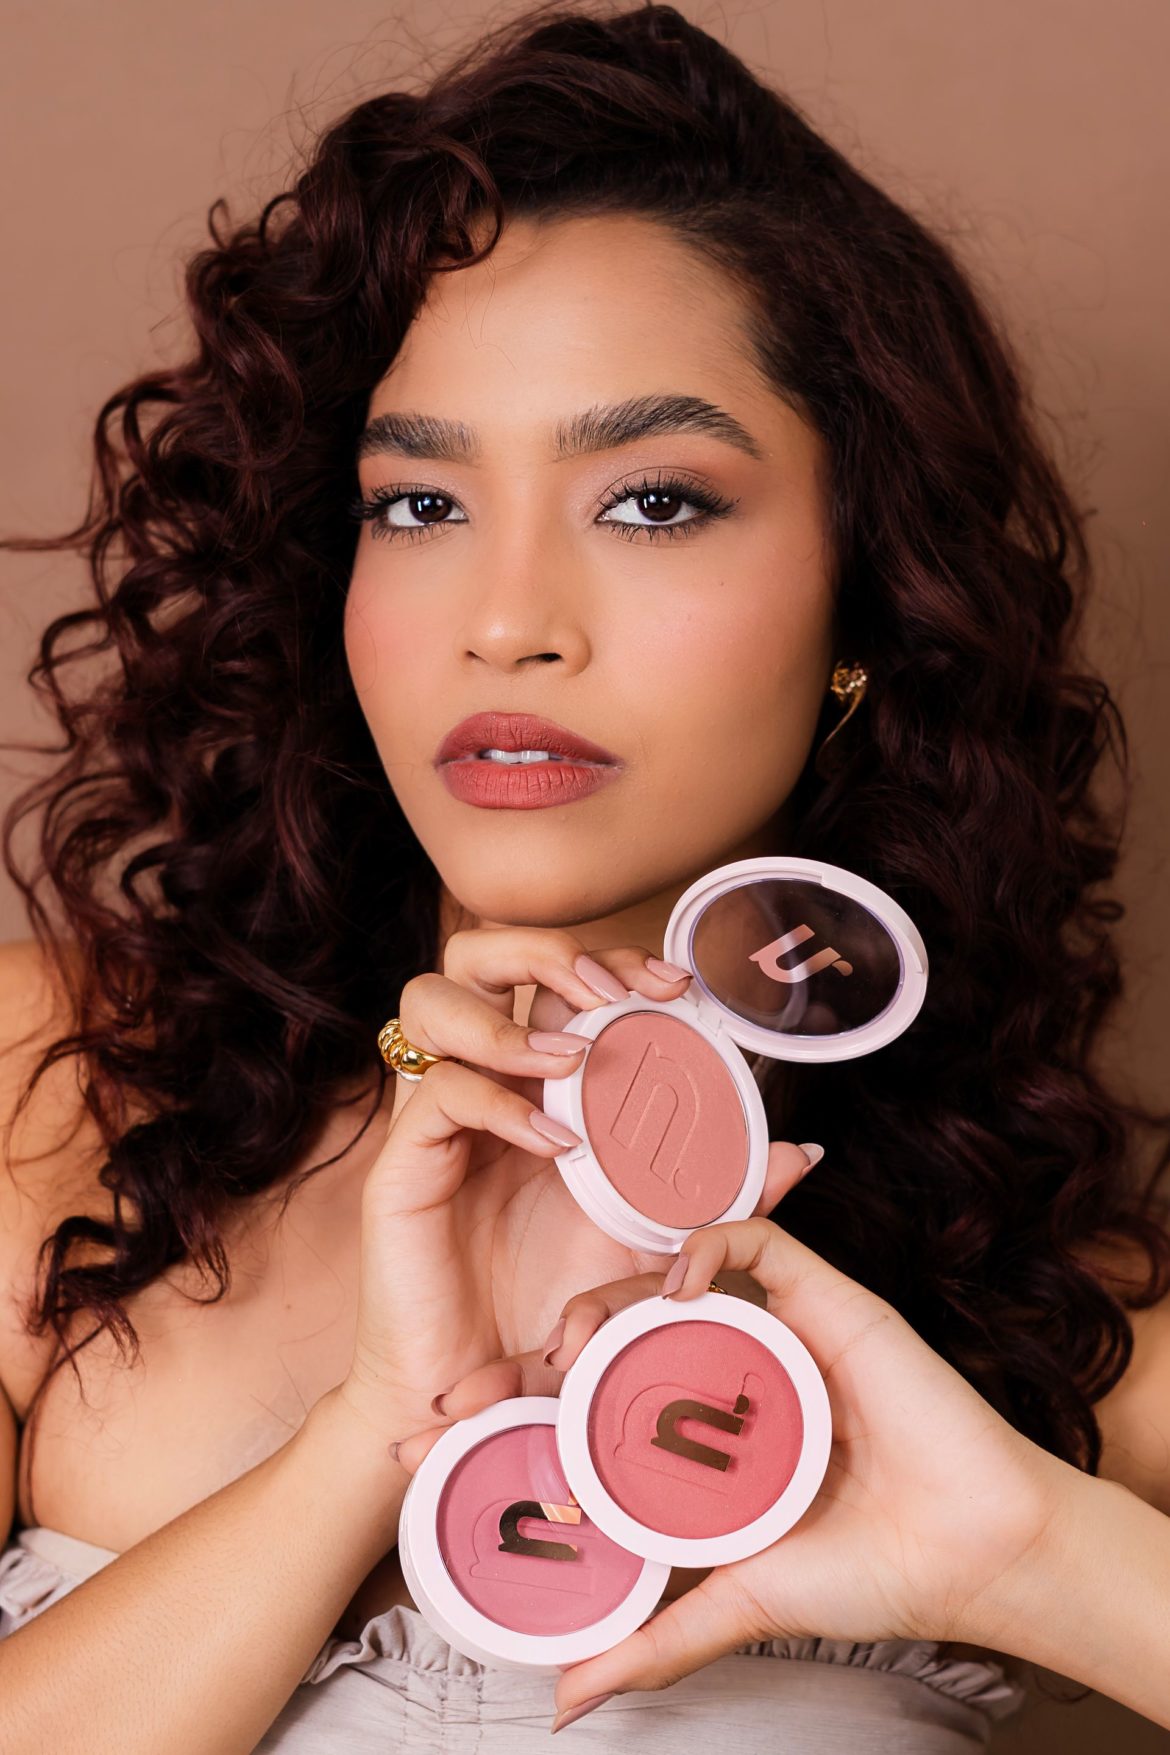
Formula matters
Cream formulas tend to produce the most natural, skin-forward finish and are often the easiest to blend for beginners. Fine powder blush offers the cleanest gradient from cheekbone to temple and works particularly well on oily skin. Avoid extra-shimmery or dewy liquid formulas for draping over larger areas: these tend to slide and can create an unintended spotlight on the upper cheek rather than a softly lifted flush.
Adjusting for your face shape
The placement changes slightly depending on what you’re working with. For rounder face shapes, position the colour higher and angle it further toward the temple rather than toward the centre of the face. This creates a lifting effect rather than adding apparent width. For longer or more angular faces, bringing a small amount of colour to the apples of the cheeks as well provides balance. The most common mistake across all face shapes is placing the blush too low, which pulls the face downward rather than lifting it.
What to pair it with
Blush draping reads most beautifully against a restrained rest of the face. Minimal foundation, a swipe of mascara and a tinted lip balm let the colour do the work it was placed there to do. If you want something more defined, a fine brow pencil and a nude liner add structure without competing with the draped cheek. The technique works in any season but feels particularly suited to winter, when a warm flush against cooler skin tones is exactly what the face needs.
ALSO SEE:
Featured Image: Pexels