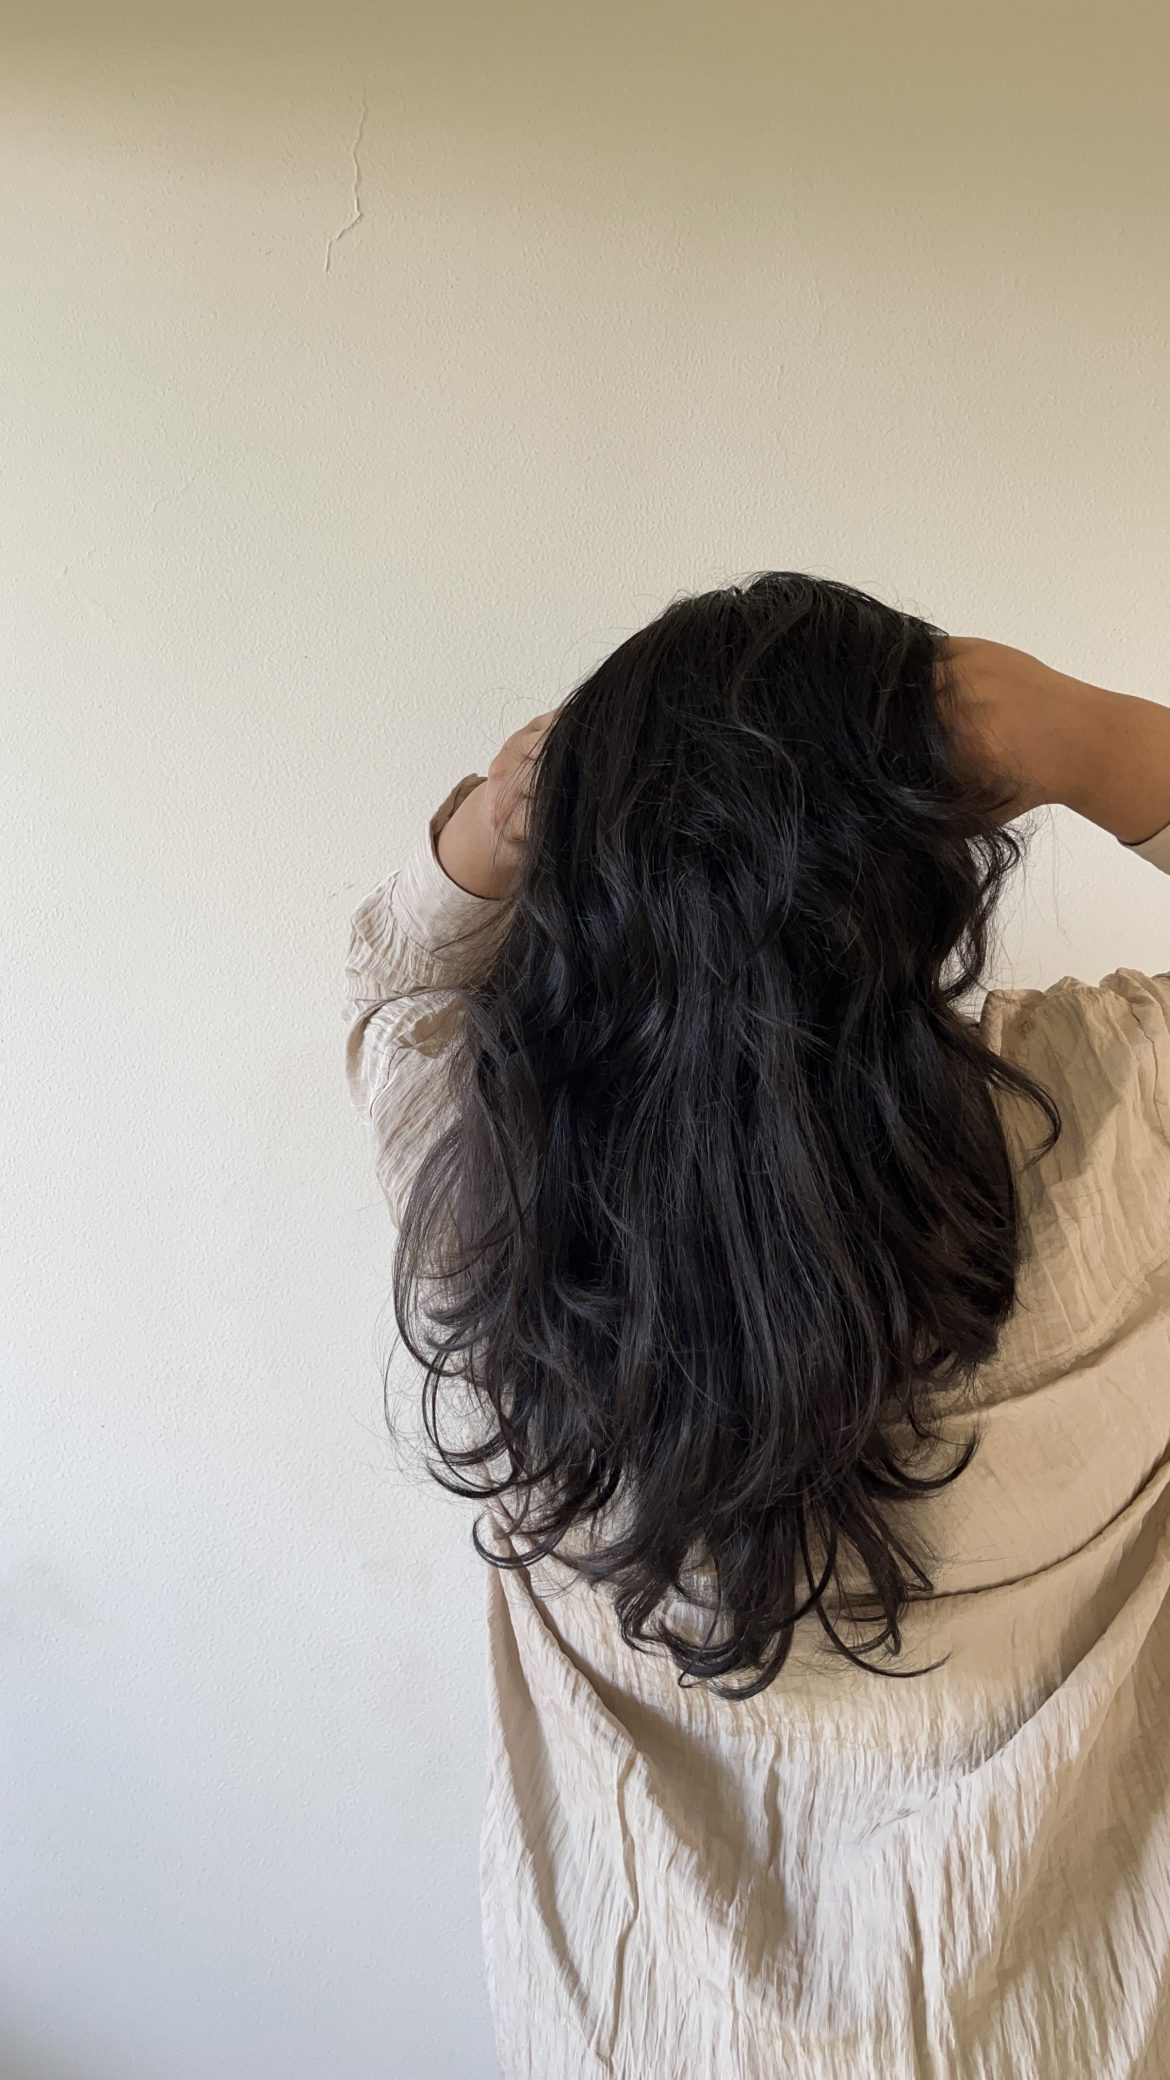
Change can feel like a holiday and changing your hair colour can be the ultimate refresh you didn’t know you needed. Dying your hair for the first time ever can feel intimidating. But, whether you’re looking to go darker, lighter, cover greys, or try something bold, box dye is often the go-to option for first-timers thanks to its convenience and affordability.
While the idea of a DIY hair makeover might sound exciting, there are a few crucial things every woman should know before diving into that first box.
Here’s your complete guide to dyeing your hair at home like a pro:
Understand your hair type and condition
Before applying any dye, assess the condition of your hair. Is it damaged, overly dry, chemically processed, or freshly bleached? Damaged or porous hair can absorb color unevenly or appear darker than expected. If your hair is brittle or breaking, hold off on dyeing and focus on hydration treatments first.
Choose the right shade wisely
Box dye colours often look very different on hair than they do on the box model. Always aim for a shade within 1–2 levels of your current colour if you’re a beginner. If you want a drastic change (e.g., going from dark brown to blonde), it’s better to see a professional — lightening hair requires precision and toning to avoid brassiness.
Pro tip: Look for a box that has a chart on the back showing expected results based on your natural hair colour.
Know the difference between permanent, semi-permanent, and demi-permanent
-
Permanent dye: Long-lasting and will grow out, not wash out. Best for full colour changes or grey coverage.
-
Semi-permanent: Washes out over time, ideal for experimenting with colour without long-term commitment.
-
Demi-permanent: Lasts longer than semi but still fades gradually, good for enhancing natural colour or blending greys.
Always do a strand and patch test
Before slathering colour on your entire head, do a strand test to see how the dye reacts with your hair and a patch test to check for allergic reactions. This could save you from unexpected results or skin irritation.
Buy two boxes (Just in case)
If you have long or thick hair, one box may not be enough. Running out halfway can lead to uneven coverage, so it’s always safer to buy an extra.
Protect your skin, clothes, and surfaces
Dye stains! Badly. Use an old t-shirt, put towels down, and apply petroleum jelly along your hairline, ears, and neck to prevent staining your skin. Don’t forget gloves (usually included in the box) to protect your hands.
Follow instructions — but adjust for your hair
Always read the box instructions thoroughly. However, be aware that processing times may vary depending on hair texture and thickness. Fine hair may process faster, while thick or coarse hair might need a little longer.
Don’t shampoo right before dyeing
Natural oils help protect your scalp from irritation. Ideally, dye your hair on day 2 or 3 after washing. Clean hair can also be too slippery, which may cause uneven colour absorption.
Apply like a pro: Roots first, then lengths
Start with your roots, where hair is most resistant, then work your way down the shaft. If your ends are dry or porous, they might absorb colour faster, so leave them for the last 5–10 minutes.
Post-dye hair care matters
Coloured hair needs extra TLC. Use sulfate-free shampoos, deep conditioners, and color-protecting treatments to maintain vibrancy and health. Avoid frequent heat styling and wash your hair less often to prolong the colour.
If you’re dreaming of going platinum, trying vivid fantasy colors, or dealing with previous dye build-up, it’s worth consulting a professional. But for subtle enhancements and colour refreshes, box dye can be a fun and empowering DIY beauty moment — as long as you prep properly.
ALSO SEE:
Featured Image: DupePhoto

